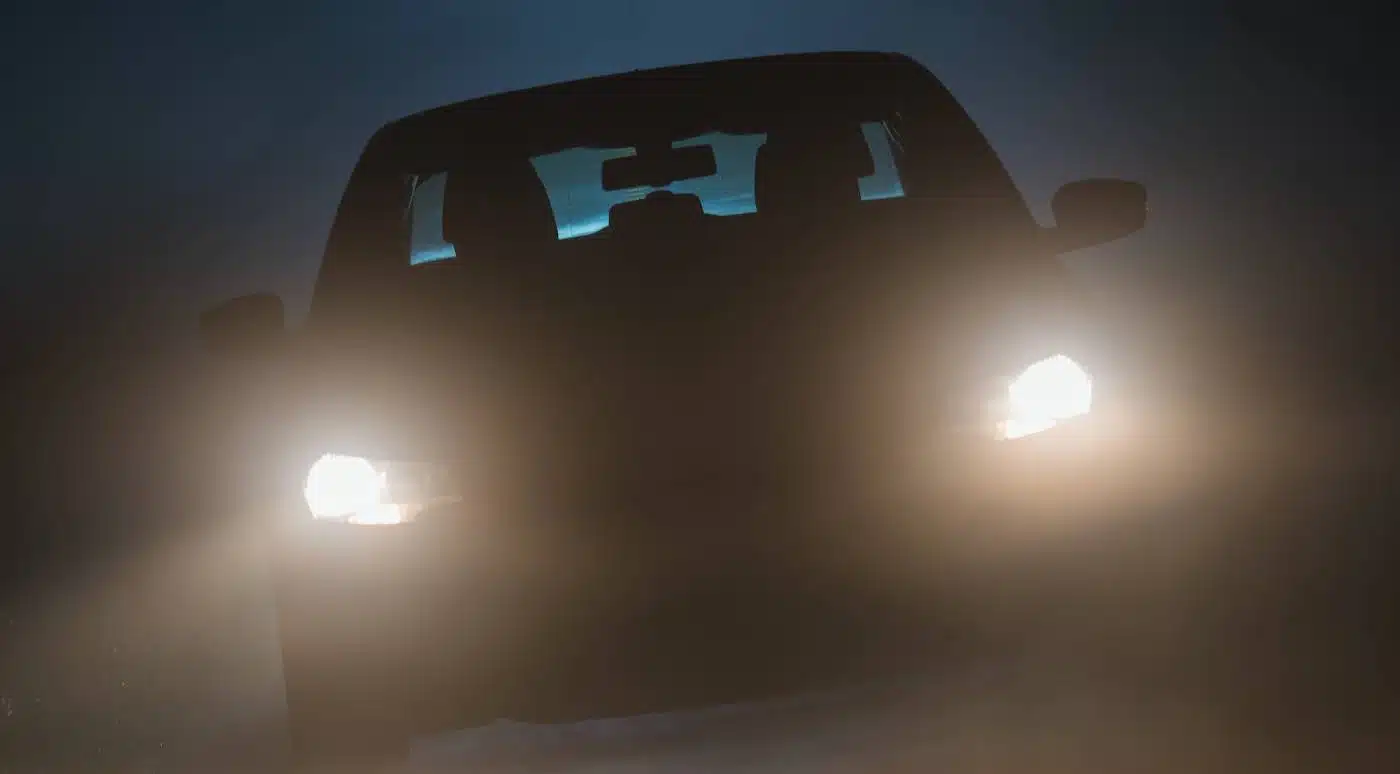
Weak headlight output can come from cloudy lenses, aging bulbs, electrical problems, poor headlight aim, dirty housings, or simply the limitations of an older lighting system. Start by comparing both sides and inspecting the lenses. The pattern of the dimness often helps identify whether you need cleaning, adjustment, bulb replacement, or electrical diagnosis.
Determine Whether One or Both Lights Are Weak
Park on level ground and compare the headlights from the front without staring directly into them. If one side is noticeably dimmer, the problem may be isolated to that bulb, socket, connector, or assembly.
When both sides appear equally weak, inspect lens condition and consider whether both bulbs are similarly aged. Also notice whether brightness changes when other electrical equipment is switched on, because unusual fluctuations can point toward a broader electrical issue.
Inspect Cloudy or Yellowed Headlight Lenses
Plastic headlight covers can become hazy from weather and ultraviolet exposure. That cloudy surface scatters light that should be projected onto the road.
Drivers exploring vehicle care ideas often jump straight to brighter replacement bulbs, but a badly oxidized lens can limit useful output regardless of the bulb behind it. Clean the housing first and determine whether the haze is on the exterior surface.
Restoration kits can improve many oxidized lenses when used correctly. Follow the product instructions, especially if sanding or applying a protective coating is involved.
Check Bulbs and Electrical Connections Safely
Before replacing bulbs, switch the lights and vehicle off and follow the owner’s manual for the correct access procedure. Some modern headlight systems use high-voltage components that are not suitable for casual electrical work.
Aging bulbs can lose performance before completely failing. General driving safety topics can help reinforce the value of checking lighting regularly rather than waiting for total bulb failure.
If a replacement bulb is required, use the correct specification for the vehicle. Avoid touching the glass of certain bulb types with bare fingers because contamination can shorten bulb life.
| Headlight Symptom | Possible Issue | Useful Check |
|---|---|---|
| One side dim | Bulb or connection | Compare both assemblies |
| Both sides hazy | Oxidized lenses | Inspect lens surface |
| Light points too low | Aim problem | Check beam alignment |
| Brightness fluctuates | Electrical issue | Inspect charging system |
Check Headlight Aim After Output Improves
A bright bulb doesn’t help much if the beam points toward the pavement directly in front of the vehicle. Poorly aimed headlights may also create glare for approaching drivers.
People reading practical auto maintenance should treat aim as part of lighting performance rather than assuming brighter automatically means safer. Suspension changes, collision repairs, headlight replacement, or disturbed adjustment hardware can alter the beam position.
Headlight alignment requirements differ between vehicles. Use the manufacturer’s procedure or have the aim checked professionally when you aren’t confident about adjustment.
Look for Moisture and Housing Damage
Condensation or water inside a headlight assembly can reduce clarity and may indicate a damaged seal, vent, or housing. Persistent moisture deserves investigation instead of repeatedly wiping the outside lens.
Inspect for cracks, loose rear covers, damaged seals, and signs that the assembly has been disturbed. Replacement may be necessary when the housing itself is damaged beyond practical repair.
Electrical connectors also deserve attention if you see heat damage, corrosion, or melted plastic. Such problems shouldn’t be disguised by repeatedly installing new bulbs.
What Drivers Often Get Wrong About Dim Headlights
Buying the brightest bulb advertised isn’t always the best solution. A bulb that doesn’t match the vehicle’s headlight design can create a poor beam pattern or excessive glare.
Another mistake is restoring cloudy lenses but ignoring damaged protective coating. Without suitable protection, haze may return faster.
Drivers also sometimes blame bulbs when the real problem is aim, voltage, wiring, or the headlight assembly itself. Diagnose the pattern first so you don’t keep replacing parts that aren’t causing the weak output.
Frequently Asked Questions
Do headlights get dimmer before they burn out?
Some bulb types can lose useful output as they age, while others may fail more suddenly. If one side is clearly weaker than the other, inspect the bulb and related components rather than waiting for complete failure.
Can toothpaste permanently restore cloudy headlights?
Household abrasives may temporarily change surface appearance, but they aren’t a complete substitute for a proper restoration process and protective finish. A purpose-made restoration method is generally more appropriate for lasting lens maintenance.
Why are my new headlights still not bright?
New bulbs won’t correct every lighting problem. Cloudy lenses, incorrect bulbs, poor beam aim, damaged reflectors, weak electrical connections, charging-system problems, or moisture inside the assembly can still reduce useful road illumination.
Restore the Beam, Not Only the Bulb
Improving weak headlights starts with identifying where light is being lost. Inspect lens clarity, compare both bulbs, check the beam position, and watch for damaged housings or unusual electrical behavior.
Replace components only after you have a reasonable idea of the cause. If wiring is damaged, brightness changes unpredictably, or adjustment is unclear, professional diagnosis can restore visibility without creating glare or unnecessary parts replacement.